Last updated: October 31, 2026
Key Takeaways
- A practical starter kit centers on hand tools, measuring tools, a cordless drill, and simple storage.
- Buy the tape measure, hammer, drill, level, and utility knife first.
- The most useful hand tools handle fastening, cutting, gripping, and measuring without needing a charger.
- Measuring tools help avoid wasted lumber, gaps, and misplaced holes.
What’s the quickest starter kit?
Quick Answer: a first-time homeowner can cover most routine repairs with five basics: a hammer, a tape measure, a level, a drill, and a utility knife.
Home improvement tools every homeowner should have start with a few basics: a hammer, a tape measure, a level, a drill, and a utility knife. That small kit handles the jobs that come up most often, from hanging shelves to tightening loose hardware, without filling a closet with tools you will rarely touch.
The short list: the tools that earn their space
A practical starter set is a hand-tool core, a basic measuring kit, a cordless drill, and simple storage. That mix covers most routine repairs and keeps spending focused on what gets used.
A generic “must-have tools” list usually gets this wrong by stuffing in specialty gear too early. A homeowner does not need a framing nailer, oscillating multi-tool, or cabinet saw on day one. Those tools have real uses, but they are not the first purchases for an average house.
Start with these essentials:
- Hammer — a 16-ounce claw hammer is the standard many homeowners reach for first. It drives nails, pulls them, and handles light demolition.
- Tape measure — a 16-foot or 25-foot tape is long enough for furniture, wall spans, and most rooms.
- Level — a 2-foot level covers shelves, picture frames, and appliance checks; a torpedo level fits tight spots.
- Utility knife — a retractable knife with replaceable blades cuts cardboard, drywall, caulk, and packaging.
- Cordless drill/driver — a 12V or 18V model is the most useful power tool for a beginner.
- Screwdriver set — at minimum, Phillips #1 and #2 plus flathead sizes that fit common screws.
- Pliers — slip-joint or tongue-and-groove pliers help with grips, light plumbing fittings, and stuck hardware.
- Stud finder — useful for hanging heavier items into framing, not just drywall.
- Flashlight or headlamp — a small one saves time under sinks, behind appliances, and in breaker-panel areas.
The main trade-off is cost versus versatility. A homeowner can buy fewer tools and borrow the rest, but borrowed tools delay small repairs. A broad kit is useful only if it stays organized and reachable. That is why storage belongs in the starter list, not at the end.
If the goal is a one-time project, this article is not the right shopping list. The right list for a single shelf or one-room refresh is much shorter. This page is for the homeowner who wants tools that earn repeated use.
What should I buy first if I’m starting from zero?
Buy the tape measure, hammer, drill, level, and utility knife first. Those five tools solve the widest range of small repairs and give you a base before you add specialty items.
A practical order keeps the cart from filling with duplicates:
- Tape measure. Get a 16-foot or 25-foot model with clear inch marks and a locking blade. The result should be a tool that can measure a wall, a cabinet opening, or a replacement part without guesswork.
- Hammer. Pick a 16-ounce claw hammer with a comfortable grip. That gives you enough weight for nails without making the tool awkward for drawer repairs or trim work.
- Utility knife. Buy one with a retractable blade and a box of replacements. The benefit is clean cuts and less force, which matters when trimming flooring underlayment or opening material bags.
- Level. Start with a 2-foot level if you hang shelves, mirrors, or pictures. It is easier to use than a tiny pocket level and more practical for most wall work.
- Cordless drill/driver. Choose a 12V or 18V model with a clutch and a charger. If you are unsure which drill setup fits your projects, consult a knowledgeable salesperson or professional before buying. The clutch helps reduce stripped screws, and the drill becomes the tool you reach for most often on furniture, hinges, and light mounting tasks.
- Driver bits and a bit set. Add Phillips, square-drive, and Torx bits before buying more power tools. Many household screws are not all the same, and the wrong bit damages both screw and surface.
- Basic pliers and screwdrivers. These fill the gap for prying, gripping, tightening, and fitting work where power tools are clumsy.
This order matters because it builds capability in layers. A drill without the right bits is frustrating. A level without a tape measure turns into a guessing game. A hammer alone solves almost nothing beyond nails.
The common mistake is buying a “kit” that looks complete but includes cheap duplicates and missing essentials. A flimsy tape or a poorly marked level costs more in bad measurements than it saves at checkout. It is usually better to buy 5 good basics than 15 weak tools.
If the budget is tight, skip specialty cutters, carpentry squares, and large saws for now. Those are useful later, not first.
Which hand tools actually matter around the house?
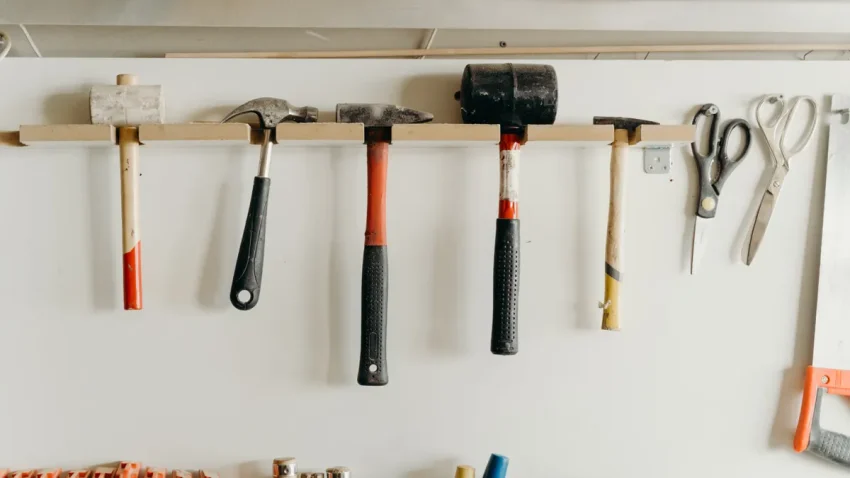
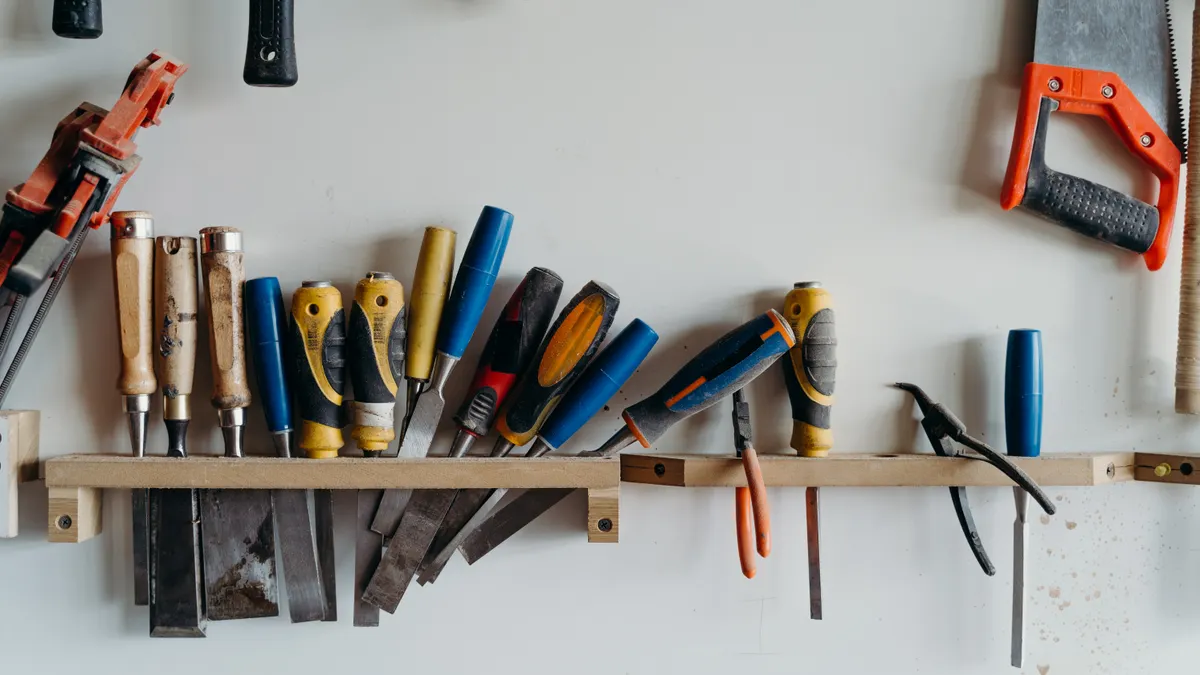
The hand tools that matter most are the ones that solve fastening, cutting, gripping, and measuring without a charger. That means hammer, screwdrivers, pliers, utility knife, adjustable wrench, and a hand saw if you do light trim work.
A homeowner’s hand-tool drawer should be built around common household fasteners and repairs, not workshop tasks. A few examples make the difference clear:
- Screwdrivers handle outlet covers, hinges, cabinet hardware, and battery compartments.
- Pliers help with bent nails, small fittings, and wire twisting.
- Adjustable wrench fits nuts on appliances and faucet connections when a fixed wrench is not the right size.
- Putty knife helps with patching, scraping, and spreading filler.
- Hand saw or compact pull saw works for occasional trim cuts when a power saw is unnecessary.
The specific buying mistake here is overbuying “multi-tools” that combine a dozen weak functions into one awkward handle. Those look efficient, but they are usually poorer than a separate screwdriver, knife, or wrench. A homeowner ends up with fewer tools that work worse.
It also helps to think in terms of fasteners. Most homes are full of Phillips screws, square-drive screws, hex nuts, finish nails, and small lag screws. A hand-tool set that ignores those shapes creates friction every time a drawer handle loosens or a bracket shifts.
One honest limitation: hand tools are slower. If you are assembling flat-pack furniture, installing closet hardware, or replacing several hinges, a cordless drill does the same work faster. Hand tools are still the foundation, but they are not the whole toolbox.
A good rule is simple: if a task needs force, control, or close-up correction, reach for a hand tool first. If the same motion repeats 10 or 20 times, the drill probably belongs in your hand instead.
Measuring tools keep small jobs from becoming expensive mistakes
Measuring tools prevent the kind of errors that waste lumber, leave gaps, or put holes in the wrong place. A tape measure, level, square, and stud finder are enough for most household work.
This is the area where generic articles often understate the problem. A homeowner usually does not fail because a tool is missing; the failure comes from bad measurement and poor layout. A shelf that is 1/4 inch off can look crooked forever. A bracket mounted in drywall instead of framing can fail under load. A cabinet centered “by eye” can be 3/8 inch out and never feel right.
The core measuring set should include:
- Tape measure: 16 feet or 25 feet
- Level: 24 inches is the most practical size for a starter kit
- Speed square or combination square: useful for right angles and marking cut lines
- Stud finder: pick one that clearly marks studs and live wires, then follow the directions closely
The right way to use this group is boring, and that is the point:
- Measure the space twice. Check width, height, and depth where the object will actually sit, not where you wish it would fit.
- Mark with pencil, not guesswork. Put the mark where the tool line will start, especially on walls and trim.
- Check level before drilling. Hold the level where the item will mount, then adjust until the bubble sits centered.
- Find framing before hanging weight. Use the stud finder, then confirm with a small test hole only if needed and only where patching is acceptable.
- Re-measure the hardware itself. Shelf brackets, TV mounts, mirrors, and curtain rods all have their own spacing that can differ from the package drawing.
- Cut after layout, not before. This is how you avoid wasting materials on a line that was never correct.
The cost of skipping this step is not abstract. It is extra holes, crooked installations, and returns for parts that were never the real problem. A tape measure is cheap; redoing a wall is not.
For homeowners, measuring tools are not accessories. They are the difference between a repair that disappears into the room and a repair everyone notices.
What power tools are worth having for beginners?
A cordless drill/driver is the first power tool most homeowners should buy, and an oscillating multi-tool is usually the next one only if the house needs more renovation work than simple maintenance.
A beginner does not need a full power-tool wall. One good drill with the right bits handles far more than people expect. It drives screws, drills pilot holes, assembles furniture, installs anchors, and helps with light hardware changes. Choose a 12V model if you want something lighter and easier to control; choose 18V if you expect more drilling and longer run time. A clutch is not optional. It protects screws and soft materials.
The second tool is less universal. An oscillating multi-tool cuts trim, scrapes caulk, and makes small flush cuts in tight places. It is useful, but it is not essential for every homeowner. A circular saw, jigsaw, or impact driver may be better later, depending on the house and the projects. A beginner should not buy those first unless a specific job requires them.
A short beginner’s power-tool plan looks like this:
- Start with a cordless drill/driver
- Add a bit set and drill bits
- Buy one spare battery if the platform supports it
- Keep a charger where it is easy to reach
- Learn the clutch settings before driving into wood or drywall
The trade-off is obvious: power tools save time, but they also add weight, batteries, and noise. A homeowner who only hangs one picture a year may not need much beyond hand tools. A homeowner who regularly assembles furniture, installs shelves, or fixes hardware will feel the difference immediately.
A common mistake is buying a drill because it is “stronger,” then using it without a clutch or the correct bit. That strips screws fast and chews up material. Another mistake is buying a cheap, unbranded battery system that is hard to replace later. Tool platforms matter because batteries and chargers tie you to a family of tools.
Safety matters here too. Read the tool manual, wear eye protection, and keep loose clothing out of rotating parts. If a tool feels hard to control, the job is too large for that setup or the wrong bit is installed.
For a deeper planning path across your whole home setup, this article sits alongside the hub on home improvement ideas, which is where larger project decisions belong.
How should I organize home improvement tools so they stay useful?
Home improvement tools stay useful when they are stored by task, kept dry, and put back in the same place every time. A simple wall rack, toolbox, or bin system beats a random pile in a garage corner.
The goal is not fancy storage. It is speed. If you cannot find the tape measure in 30 seconds, you will delay a 10-minute fix. A practical setup often looks like this:
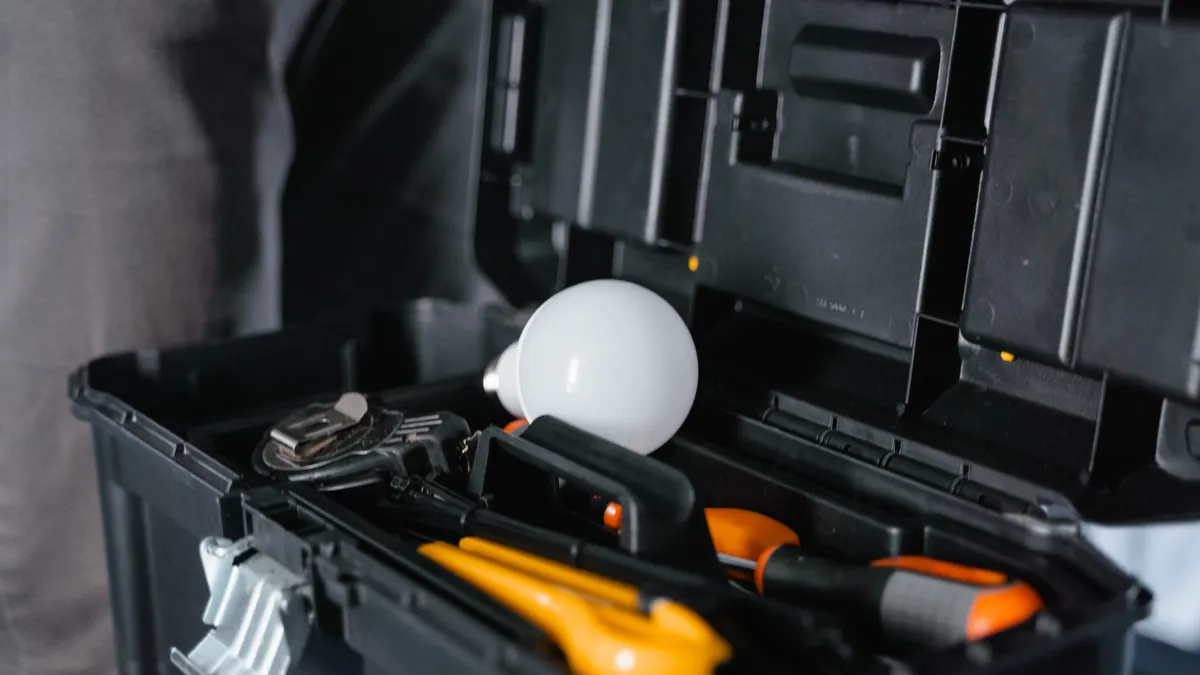
- One portable toolbox or tote for the most-used hand tools
- A drawer or bin for measuring tools and bits
- A separate section for fasteners such as screws, nails, wall anchors, and picture hooks
- A shelf or cabinet for power tools and chargers
- A labeled container for blades and sharp items
Moisture and clutter are the two enemies. Basements, garages, and sheds can rust metal tools and corrode batteries if they are stored carelessly. Even in a climate-controlled space, mixed hardware becomes a mess fast. Keep fasteners in small jars or divided boxes, not loose in a coffee can.
A few habits make storage work:
- Return the tool to the same slot every time. This cuts search time and keeps duplicates from piling up.
- Store blades and bits separately. That protects fingers and keeps cutting edges from dulling against metal.
- Keep batteries charged but not buried. A charger near the tool shelf means the drill is ready next time.
- Label fastener bins by type and size. “Wood screws,” “drywall anchors,” and “assorted bolts” are more useful than one mixed container.
- Review the kit twice a year. Remove dead batteries, bent rulers, rusted nails, and tools you never use.
This is where many homeowners go wrong: they buy the right tools, then lose time because the tools are scattered. A tidy storage system does not need to be expensive, but it does need to be consistent.
Good storage also reveals what you do not use. If a tool sits untouched for a year, it may belong in a borrow-or-rent category instead of your permanent kit.
The fastener and accessory set that makes the tools work
The right fasteners and accessories make the rest of the kit useful, and the wrong ones waste time. A homeowner should keep a small, sorted supply of screws, anchors, nails, wall hooks, drill bits, and spare blades.
This is the part many lists ignore, even though it changes how the tools perform. A drill without the correct bit size, a hammer without the right nail, or a level without a pencil is incomplete.
A practical starter box includes:
- Wood screws in a few
Drafted with AI; not yet reviewed by a person.